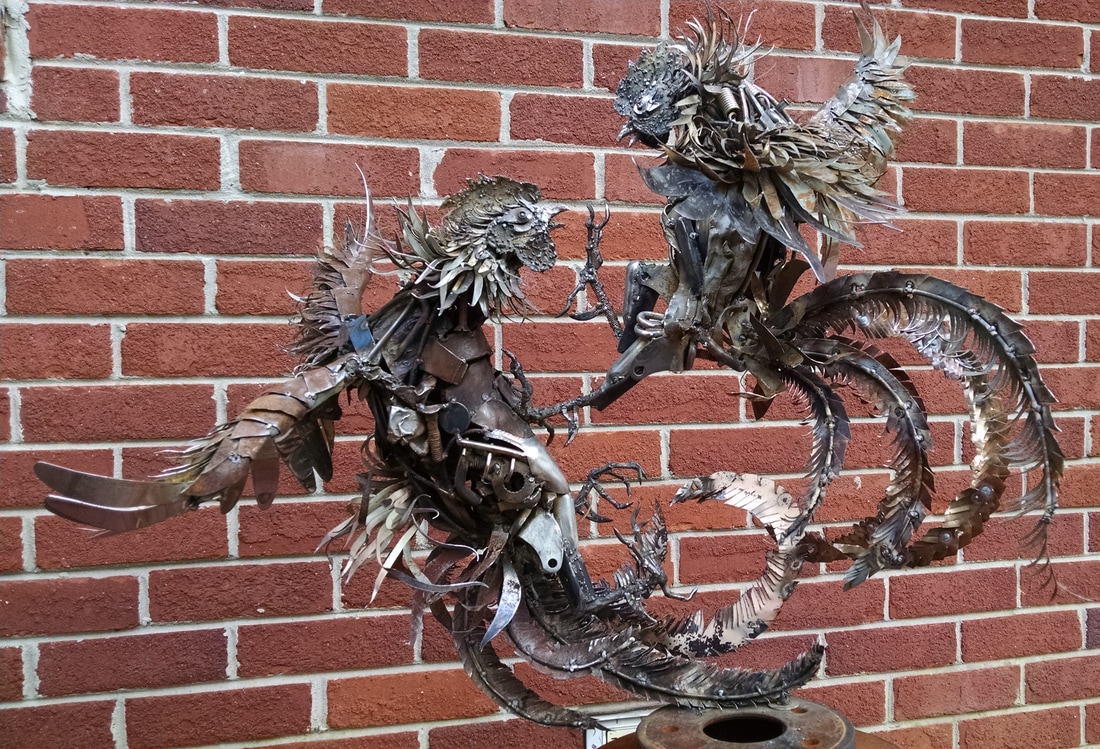
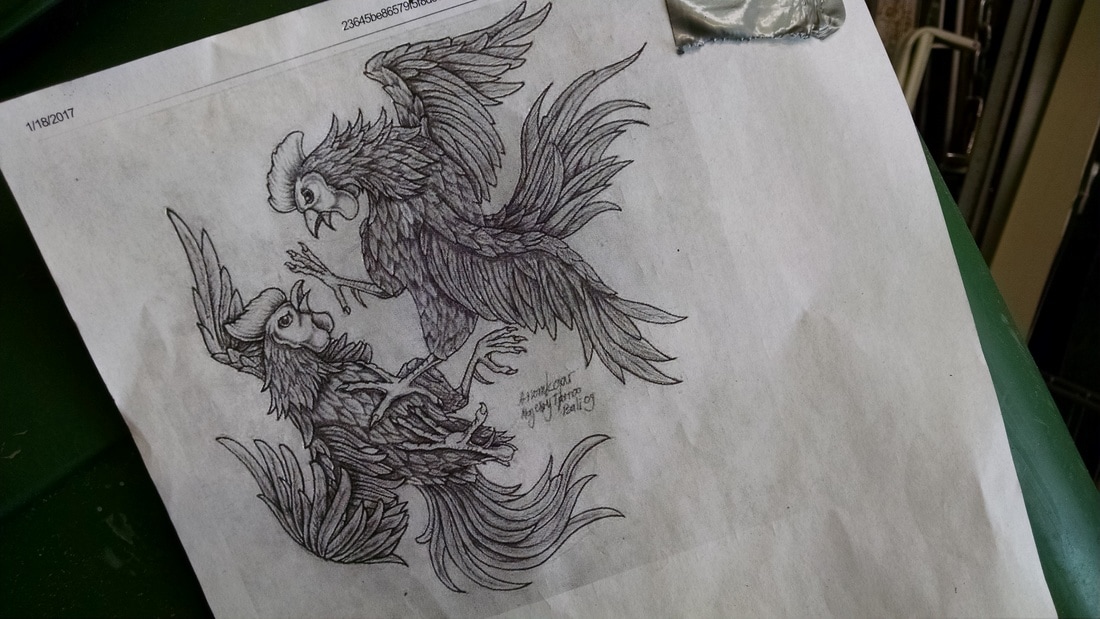
I made this sculpture not because I'm enthusiastic about cockfighting or have an overabundance of school spirit. Besides my general affection for roosters (which will fight among themselves whether or not humans gamble on the outcome), I was attracted to the technical and artistic challenge of putting two birds in the air and capturing their energy and motion. After looking a lot of pictures of cockfights, I found a drawing that I liked and used it as my reference. Here it is taped to a plastic bin in my garage:
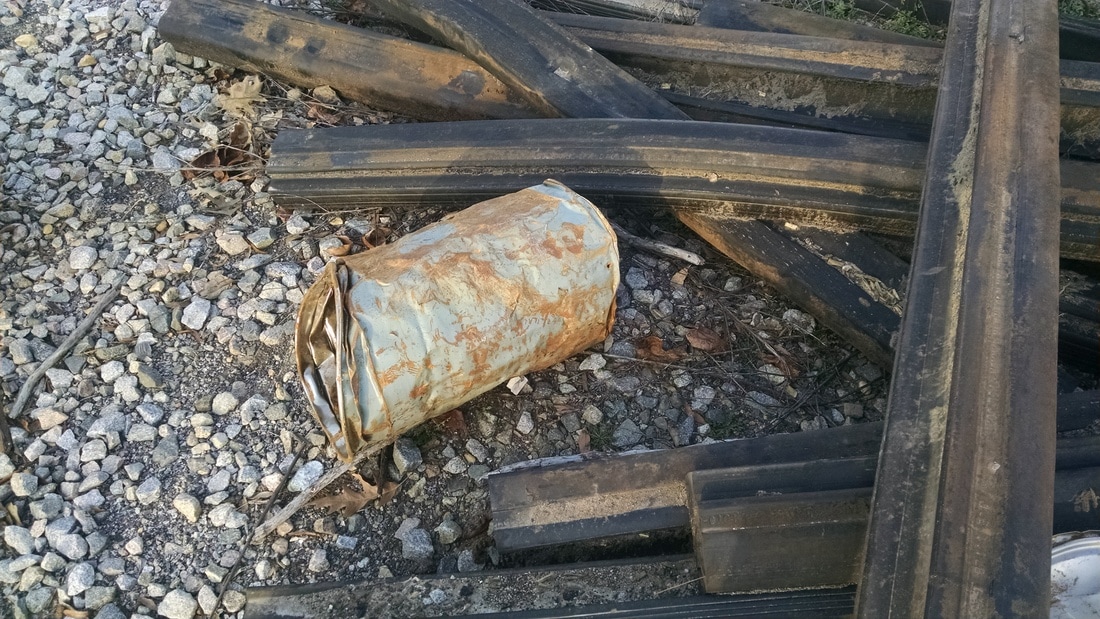
| My original plan with this one, as with several previous sculptures, was to make something fairly quickly that was simple and strong enough to go outside. On my way to work I had found some twisted chunks of scrap metal that had literally fallen off a train car, and I thought they would make perfect pieces for the bodies -- already twisted and torn and full of energy. That same day I came across a smashed up frame from a hide-a-bed (also on my way to work) that had some hinges and four casters. I thought the metal parts of the casters would be perfect for the hip or knee joints of the roosters. Sometimes the world just gives you what you need. |
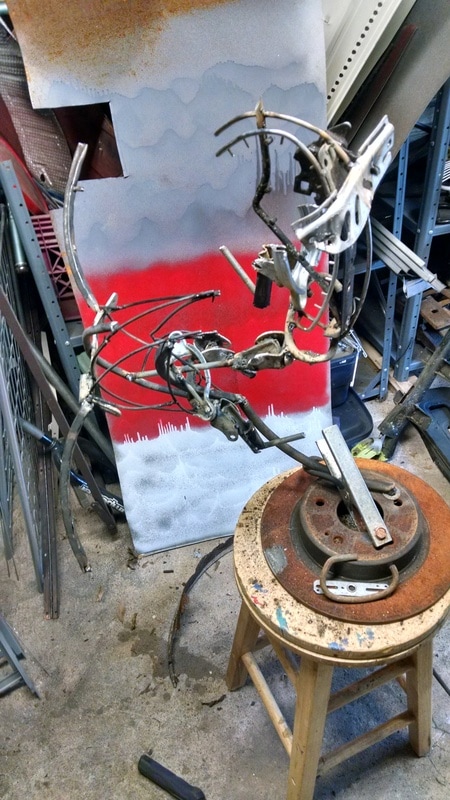
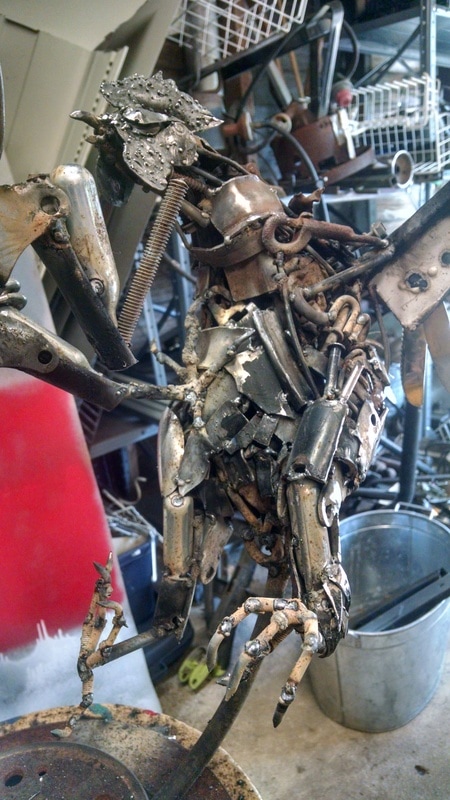
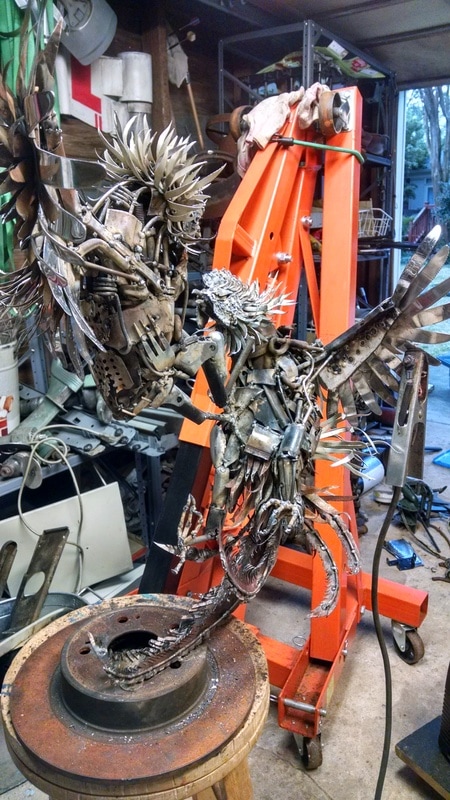
| I started making the shapes of the birds using a stiff piece of a steel circle from a propane fryer that I found the curb. The single piece attaching the birds to the base needed to be hefty, as it was the only thing keeping them in the air. I was afraid if I used something soft (like rebar) it would bend under the weight and things would start to get sad. The support will be camouflaged by some of the sickle feathers of the lower rooster. I put bolts through two of the holes in a brake rotor and welded my curved section of rod to the tops of the bolts. The brake rotor isn't going to be the final base (I'm planning on having a piece of wood specially carved). I started making the shapes of the roosters using the usual assortment of odds and ends from baking racks, plant stands, whatever. The right leg of the upper rooster needed to be securely tied into the main structure, as it's the only thing that's supporting that whole side of the sculpture. I roughed out the legs using the casters I had recently found, and started figuring out how the wings would go. |
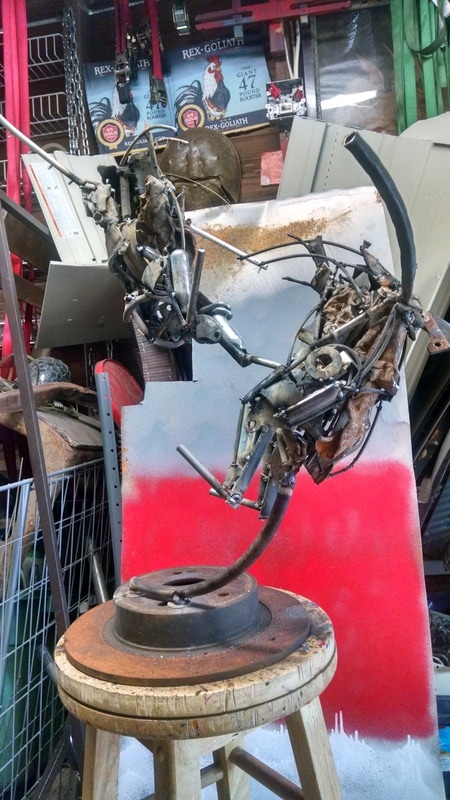
| This image shows the roosters after I started putting some flesh on them. While I did end up using several of the mangled pieces of scrap I got from the railroad, it was beginning to dawn on me that (again) I wasn't going to end up making a robust "stick it in the garden and forget about it" kind of sculpture. Along with beer cans and hats that don't stay on while riding mopeds, small steel carbon dioxide canisters are one of the most common things I find while walking to work. While I'm familiar with these from my days of shooting an air pistol, I have now learned that the crazy kids apparently use them to get high. Finding a trash can isn't at the top of the priority list when you're loopy on whippets, I guess. Anyway, I pick the things up when I see them because they'll make good parts for something. In this case, they helped make the legs of the roosters. By the time I took this photo, I had also shortened the main support and changed the back and tail section of the lower rooster to get things more in proportion. |
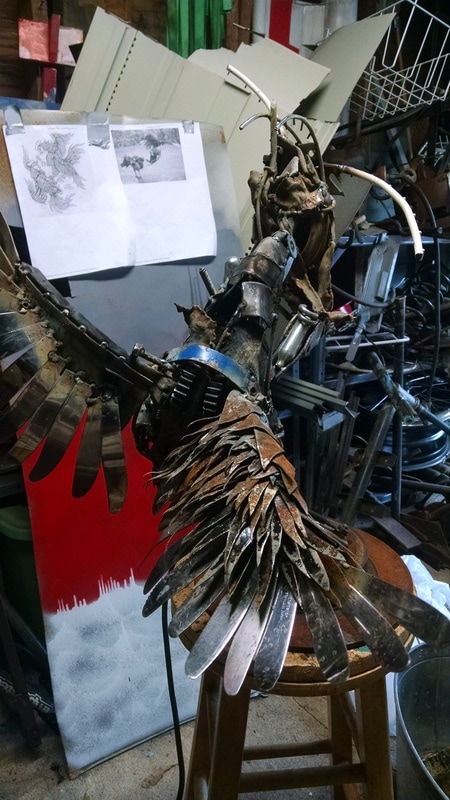
| I've gone to the "butter knives as flight feathers" well several times now. I can't promise I won't do it again, but it's getting a little old. I almost cleaned out the Salvation Army for this one: I ended up using about 50 butter knives in the wings of the two roosters. At ten cents each, I still got away for less than the cost of a value meal at McDonald's. All the rest of the feathers -- many hundreds and hundreds of them -- are individually cut from sheet metal. I've been experimenting with painting and rusting pieces of sheet metal from a filing cabinet that I cut up, because taupe is boring. You can see some of my unpainted stock in the background in this photo. I used black for the feathers of the bottom rooster. I had used spray paint on some sheet metal and then got it to rust by putting in salty water. A lot of the paint came off while I cut the pieces, but it still worked out fine. The fumes from the enamel getting gassified when I welded all these little pieces on was not my favorite part of this project. |
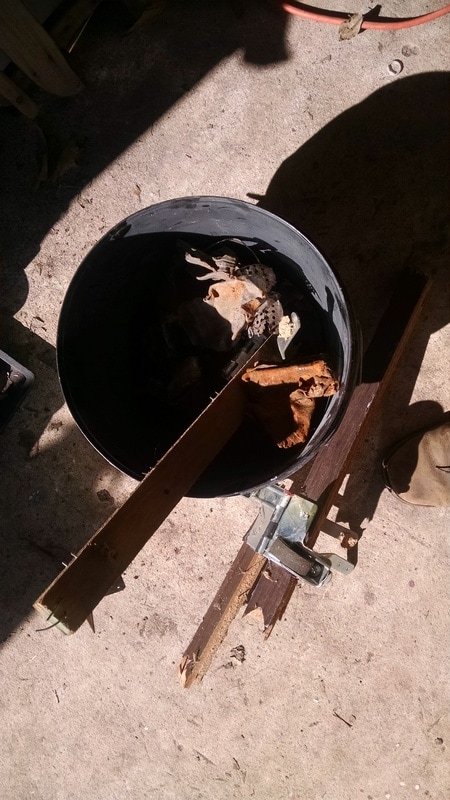
| Who loves you? The woman who stops to pick up an old discarded bucket because you mentioned on Facebook that you'd been eyeing it. The metal was thinner than I thought, so it was easy to cut but trickier to weld without just burning it away. The original color is a muted blue/green, which I thought would be perfect for the feathers of the upper rooster. It was. The streets of Columbia provided the right garbage just in time, once again. |
| This image shows the head of the lower rooster in progress, more of the body fleshed out, and three of the four feet done. I think this might be the first time I've made something that I've already made before. With my previous rooster experience, I already knew how I wanted the heads to be. I cut the comb and wattles from thinner metal than before, and used some small ball bearings for the eyes. I made the beaks from nails, I think, bending, adding steel, grinding things down until they were rooster-beaky enough. Note: no matter how many different ways you try to spell "beaky," the red squiggly "you're doing it wrong" line underneath will not go away. |
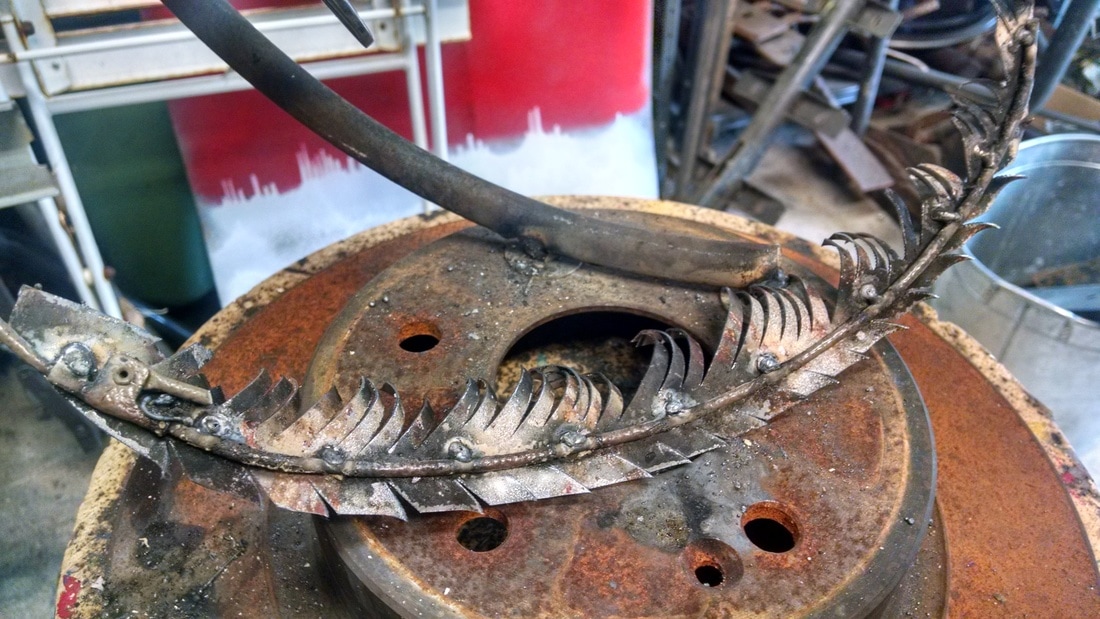
| On my previous rooster, I used the rim of a chili pot lid for the sickle feathers. That wasn't an option here as (a) that lid was gone and (b) I needed the feathers to vary in size and shape. I made them all from scratch using sheet metal and pieces of a patio umbrella. I'm pretty sure that making all of these gave me a carpal tunnel flare-up that I'm still dealing with. I used a propane torch to burn the taupe paint off the other side of the filing cabinet metal. I hate taupe. |
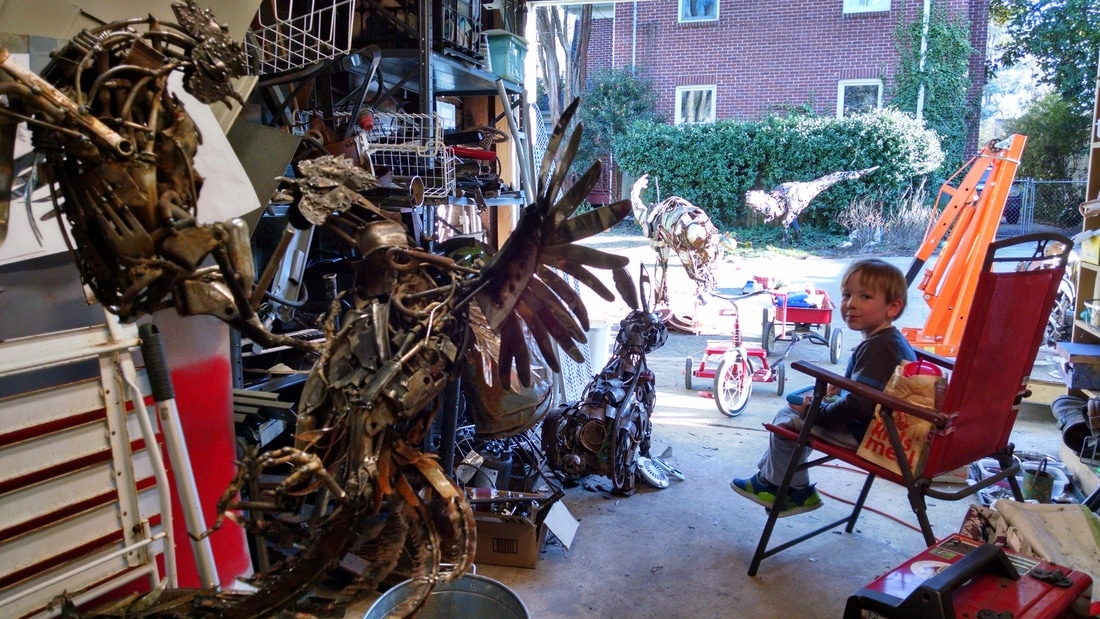
| I'm just putting this picture here because I like it. I don't weld or use my grinder when the little kids are around, but sometimes they're content to just hang out with me in the garage while I organize things or do something routine and not dangerous, like listen to the radio and cut hundreds of rooster feathers. |
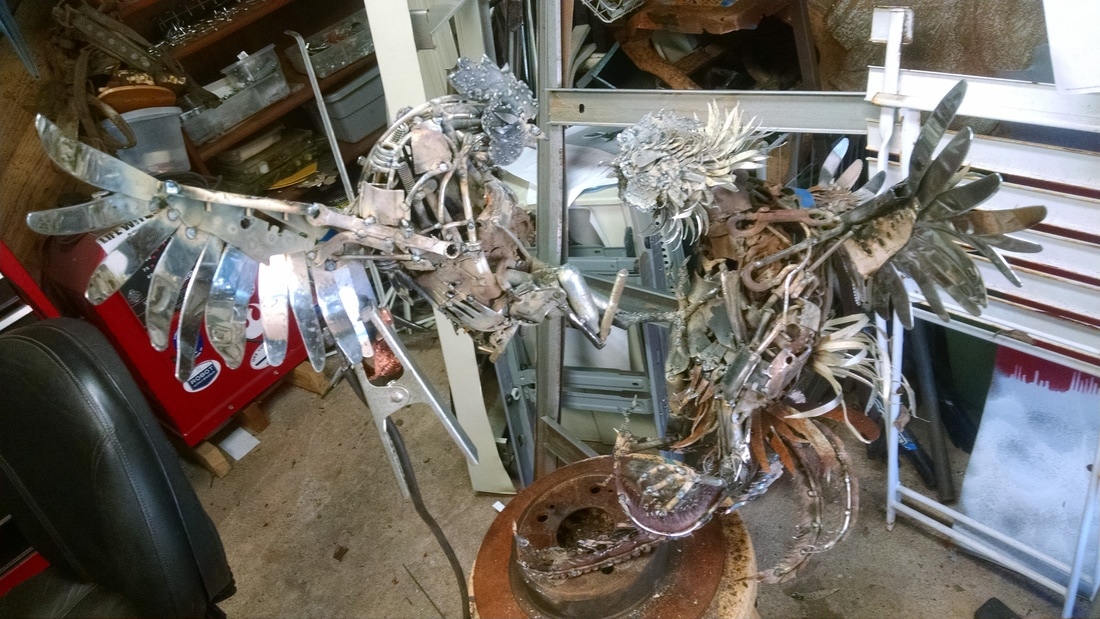
| Hallelujah: things are really moving along. This photo shows the bottom rooster almost done, with tail feathers, saddle feathers, and hackle feathers all stuck on. This was the point in the sculpture where the project just needed to be over soon. You know you've reached that point when you start making piles of stuff for whatever is next: another dragonfly, and another owl, and another crow, etc. |
| At some point near the end here, I started imagining dinosaur-on-dinosaur combat. Did male tyrannosaurs behave like male chickens? At least if I made that sculpture of tyrannosaur-on-tyrannosaur violence I'd have just eight tiny fingers to make rather than half a million feathers. Unless I decided to put feathers on the tyrannosaurs. |
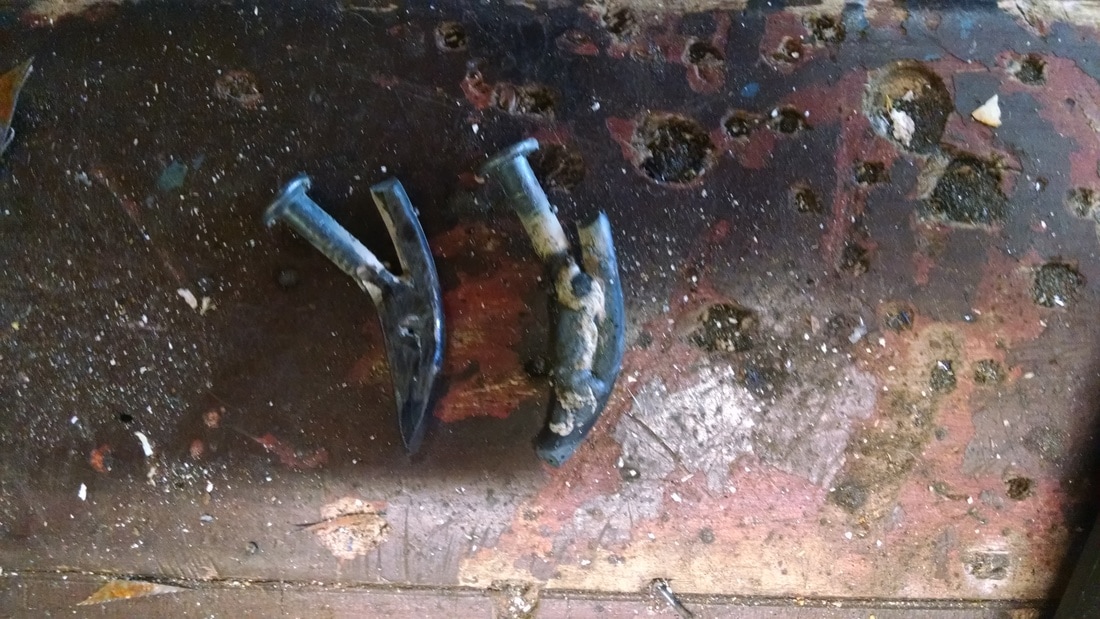
| The very last parts I made were the spurs. For each one, I bent a section of nail and then welded it to another bent section of nail (right). Then I ground and shaped them (left) and trimmed off the head. Before I attached them, I dropped one of the four on the floor and was unable to find it, on my hands and knees, for TEN WHOLE MINUTES. No way I was making another one. |
 RSS Feed
