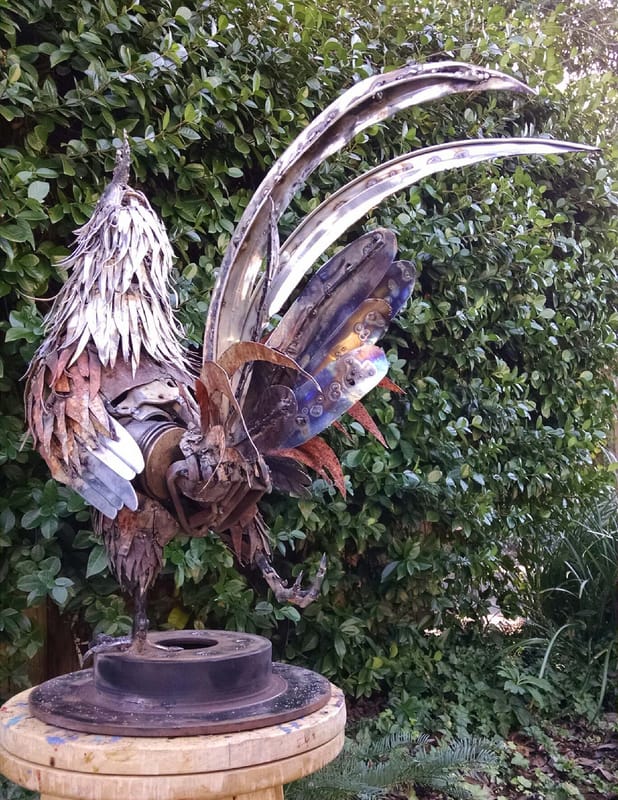
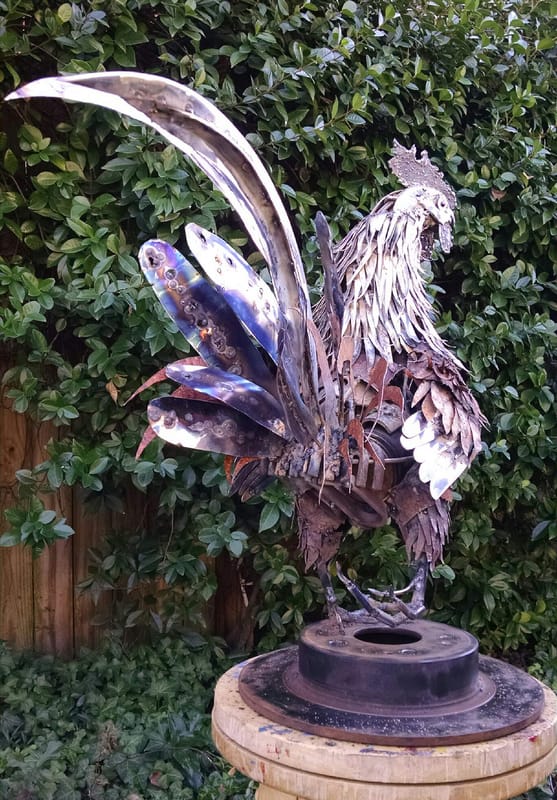
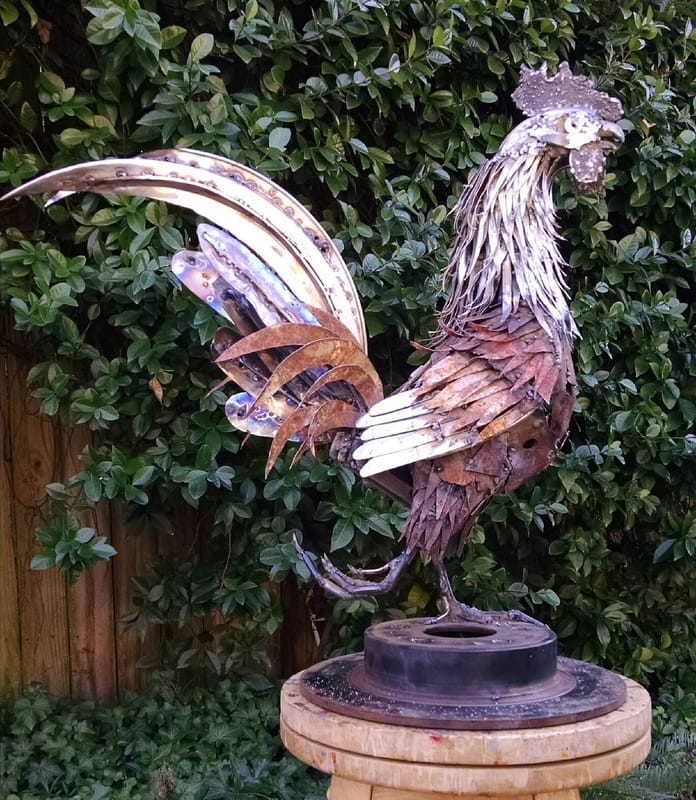
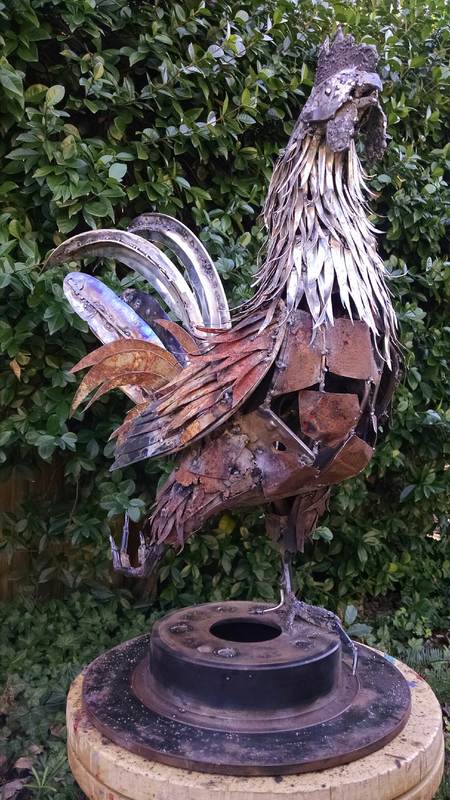
I learned a few new tricks with this one and wanted to take the time to show how I made it.
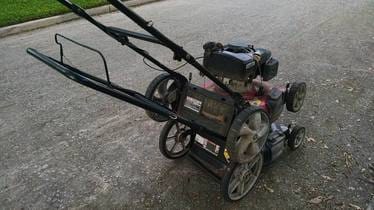
| The key pieces that got the rooster started came from one of these two lawnmowers. I found them both sitting on the curb in late September and wheeled them back to my house while walking the dog. I'm not sure what the technical name for the part is, but wheels on lawnmowers like these are attached to short axles that protrude from steel plates. A pair of those formed the belly and hip section of the rooster. |
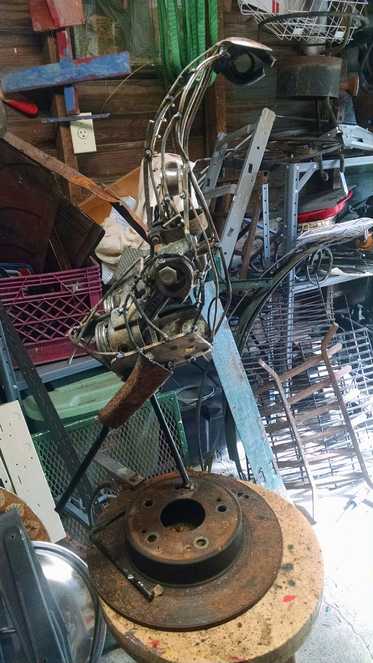
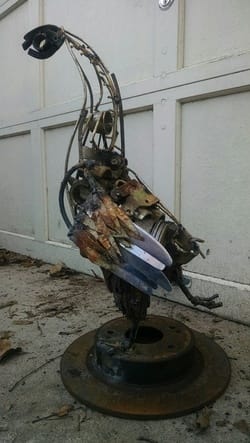
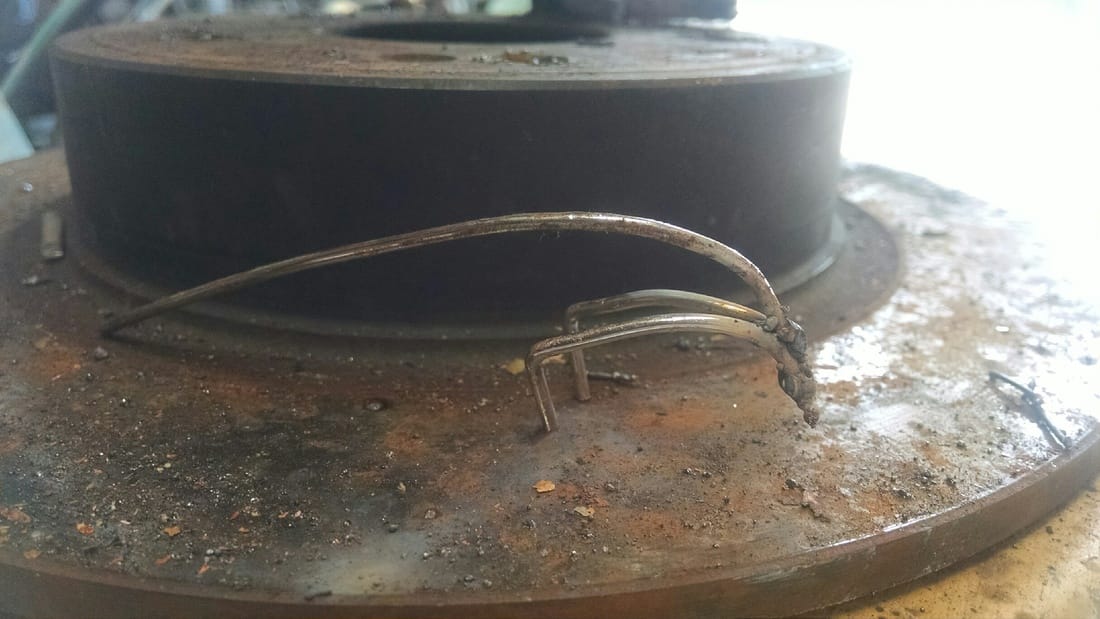
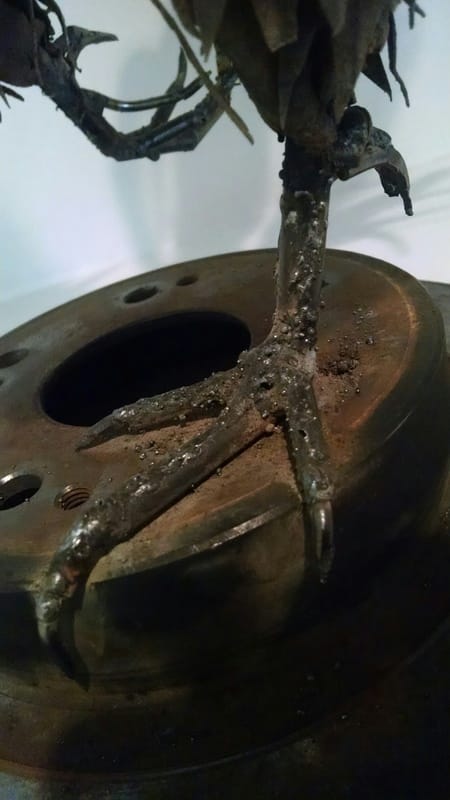
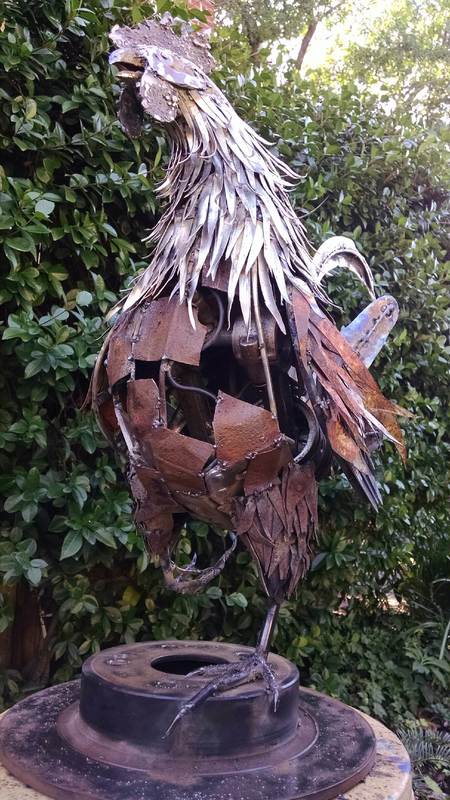
| This photo shows the "rough" draft of the legs and body frame. The lower legs are made from round steel rods. To make the sculpture stable, I inserted the "standing" foot though a hole in the brake rotor and welded it all around. I started building the shape of the body/neck using bent pieces of from oven racks and a chromed shower caddy. The shape of the back of the neck and the top of the head is formed by a spoon. I used two pistons (from lawnmowers) in the interior of the body. I'm never sure how much of the interior will be visible, so I always build things inside. I don't think I've ever built something that was just a hollow shell. I started fleshing out the upper legs by attaching some pieces cut from the rusted frame of an old school chair. At this point, it became clear that the legs were disproportionately long. I was originally thinking I would make the rooster crowing, so I was still satisfied with the length of the neck. |
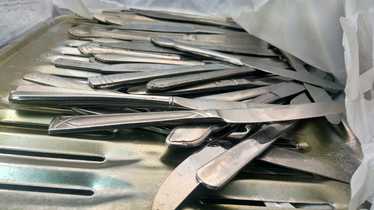
| I don't like to buy materials, but in this case I knew I wanted to use butter knives for the wing feathers. I stopped at the Goodwill and bought about $5 worth (at 10 cents each) and also bought a thin steel broiler pan (75 cents) to use for feathers. I wasn't exactly sure which feathers would be which color, but I knew I wanted some of them to be shiny. |
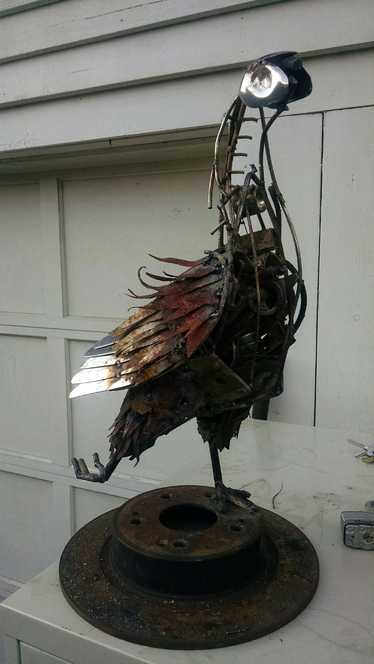
| This image shows the rooster after attaching the large feathers of the wings and the first layer of smaller wing feathers. The feathers in that second layer were cut from a rusty serving platter that I got from my mom's collection of odds and ends over the summer. The platter had a green/white/gray design, the faded and rusted colors of which I think made for a really nice effect. The next layer of wing feathers (visible in the next image) was made from the same serving platter with the undecorated side showing. I've started on the feet in this image. The feathers on the upper part of the leg were made from small pieces cut from a highly rusted pieces of sheet metal. It was at this point that I realized that the neck was, indeed, too long. |
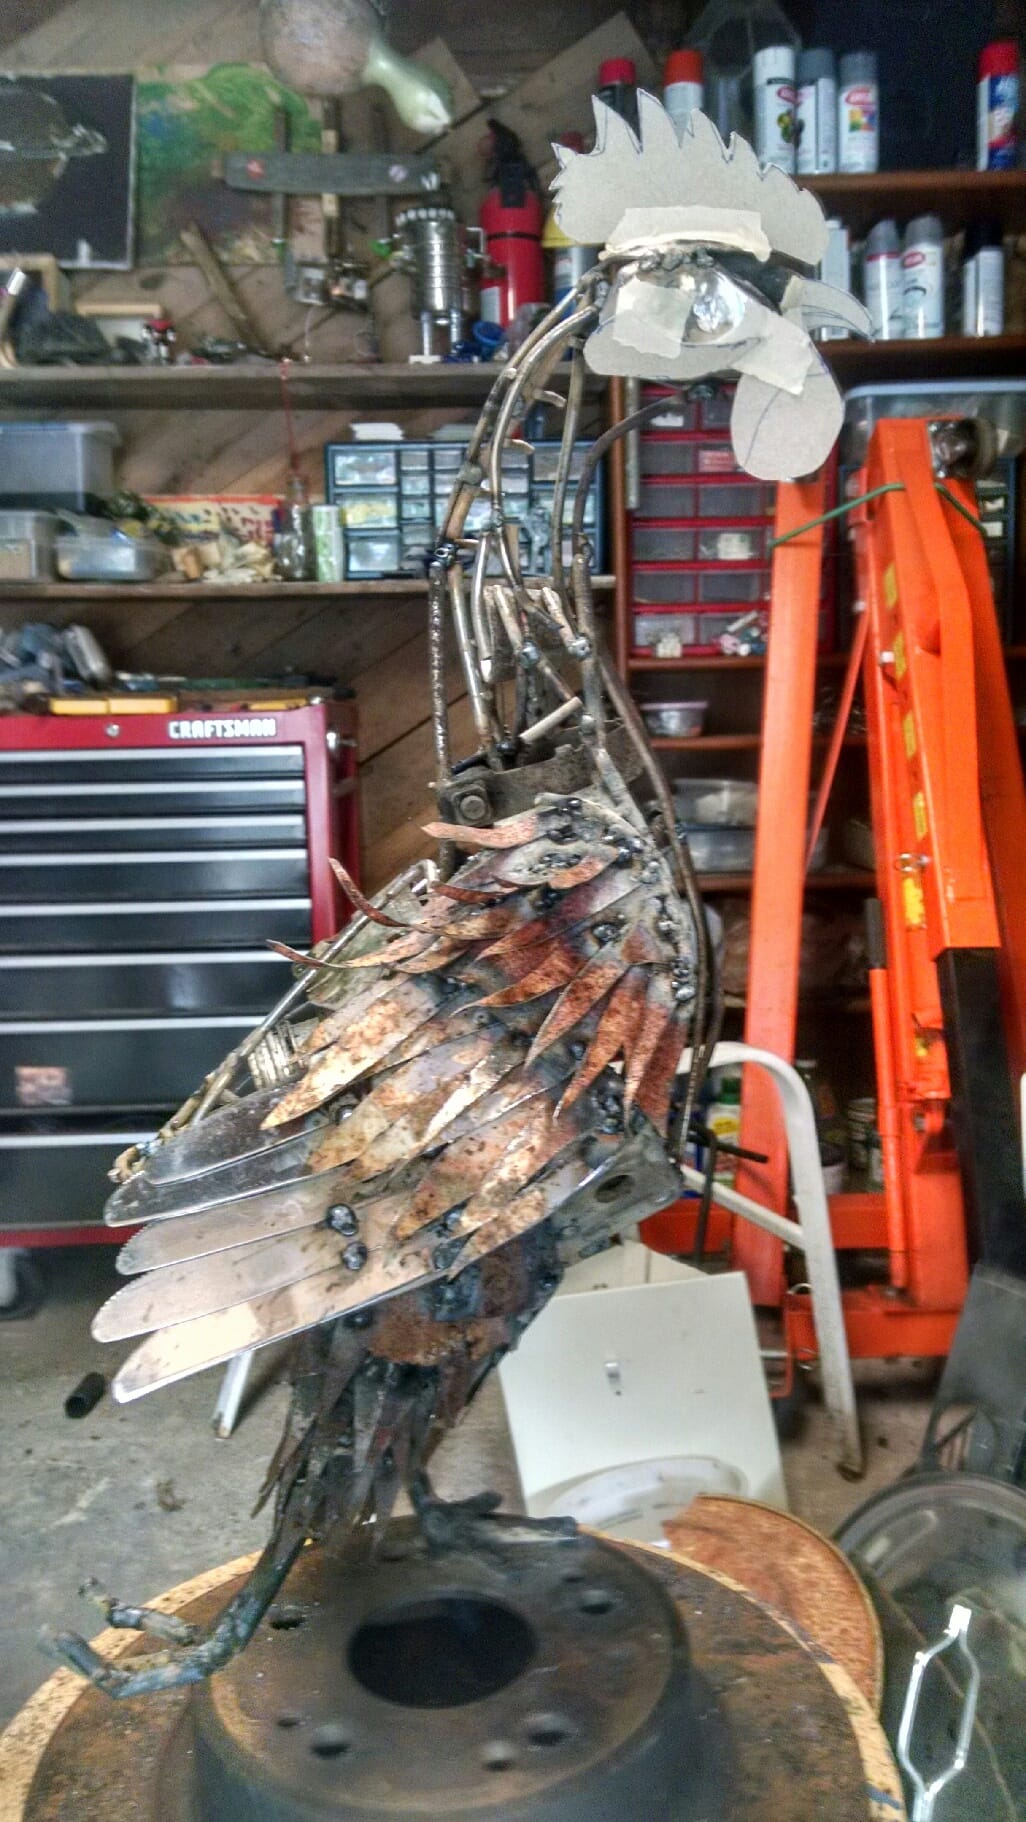
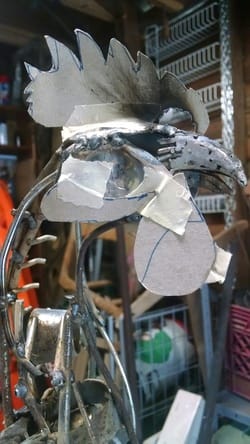
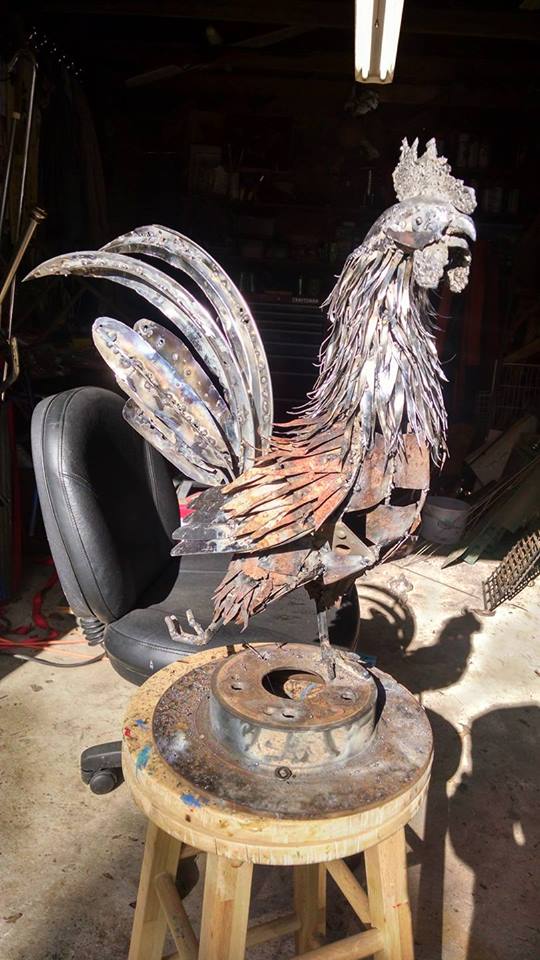
| This photo shows the rooster with the third layer of wing feathers and a shortened neck (I just chopped out a section, re-bent the frame pieces, and welded it back together). I started working on the head by attaching a pair of banged-up spoons. My original idea was that the eyes would go in the concave areas that I hammered into the spoons. That would have placed the eyes in the wrong spot. I realized that only after getting the head mocked up (below) but decided to keep the spoons where they were anyway, which worked out fine. Getting the eyes right and in the right spot is a challenge for me every time. |
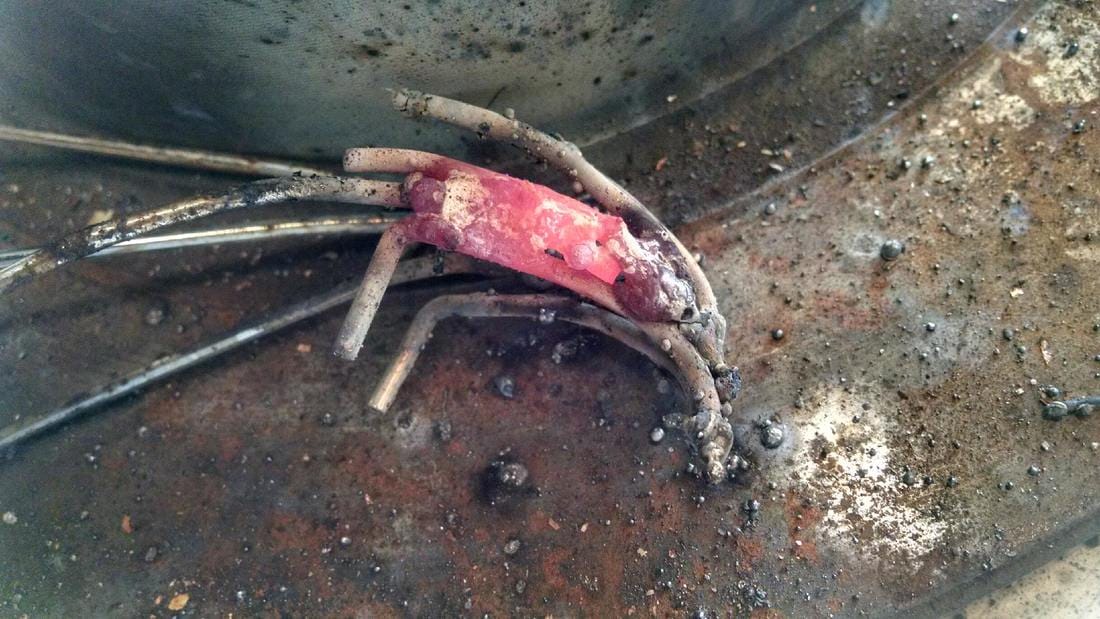
| My first attempt at a beak (using a cut and shaped piece of tubular steel) didn't work out at all. For my second attempt, I tried fabricating one from scratch. I got the outline of the hooked shape I wanted by bending some light steel rods and welding the ends together. I filled in the beak by welding in more bent rods. These pieces came from the same shower caddy that I picked up from the curb just a few weeks before. |
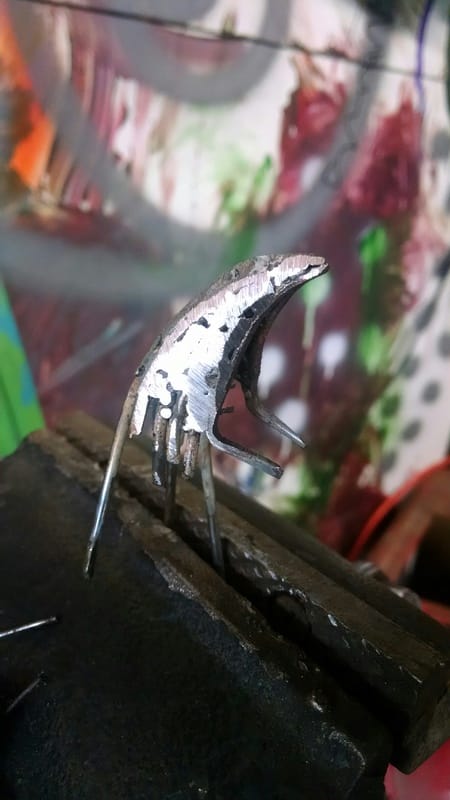
| The beak in progress. One of the beauties of steel as a sculpture material is that you can both add and subtract it at any time. When you shape a rock, you can only take pieces away. When you paint, you generally add. When you create something from clay, you can add and subtract to a point, but after you fire a piece it's no longer morphable. Steel can be added and taken away at will. It's a very flexible medium. |
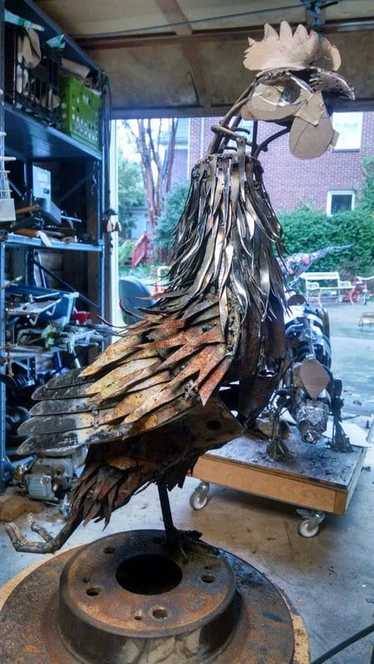
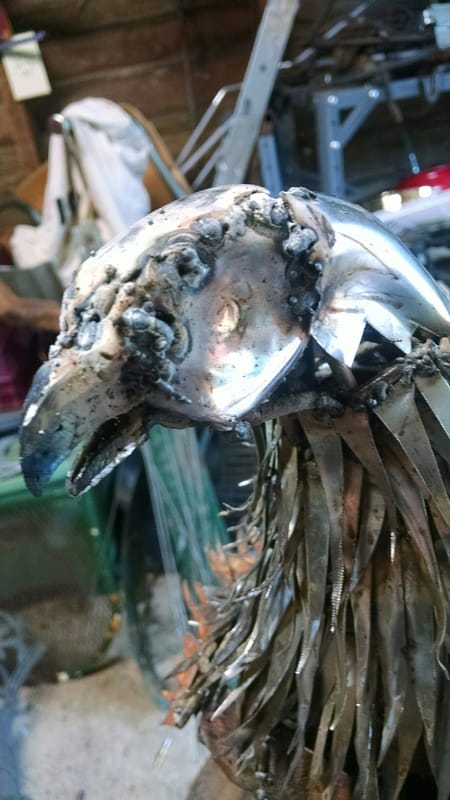
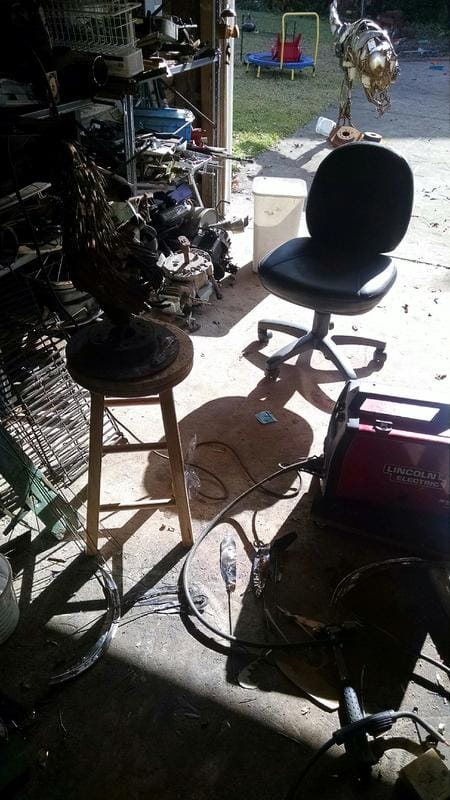
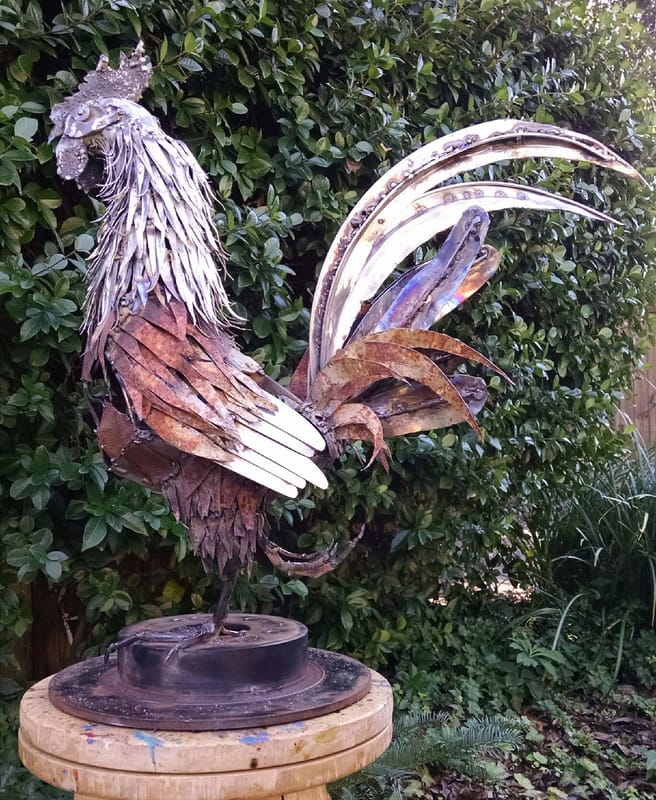
| Feathering of the neck in progress. I have no idea how many feathers I cut from that 75 cent broiler pan, but I ended up using the entire thing except for the rolled edges. I cut each of these feathers by hand with tin snips. I folded the end so that I would have an easier time welding them on. Even at the lowest setting on my welder (a Lincoln Electric 125 wire feed) I still had some difficulties burning though them. I really like the way the individual feathers curve and twist. Much of the curvature was created during the act of cutting the feathers. I used my hammer to tap the ends into place, trying to preserve a sense of texture and motion while somewhat "taming" the feathers. This image still shows the over-sized beak. |
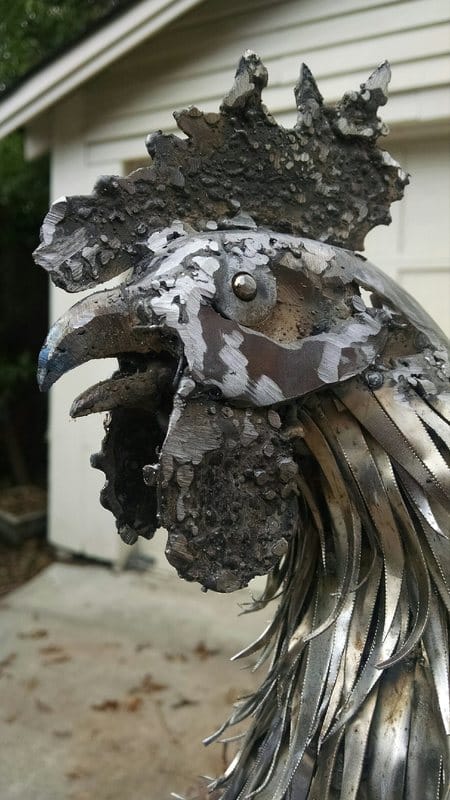
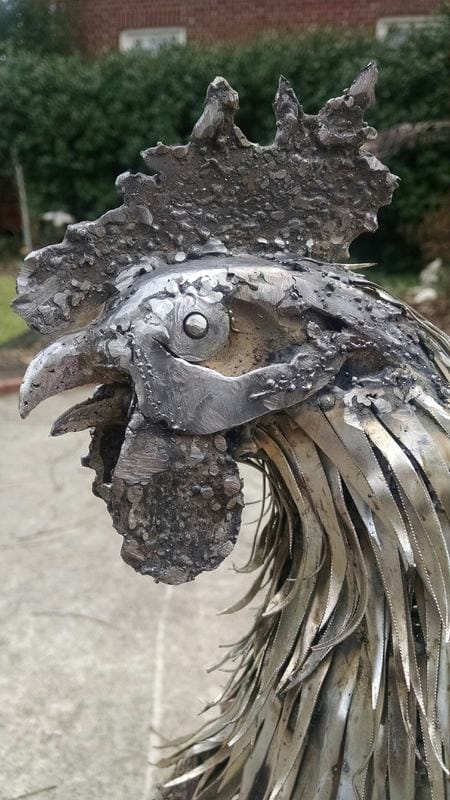
| The head in complete "rough" form. I made the comb and the wattles from pieces of steel that I cut, hammered, and ground into shape. I originally chose the pieces for the color and the sentimental value (they are part of some appliance frame that I haulted out of a trash pile during a road trip to Hell's Bridge, Michigan, with my daughter). Once I got done, though, none of the original character is visible. I created the texture by letting my welder "chatter" across the surfaces. |
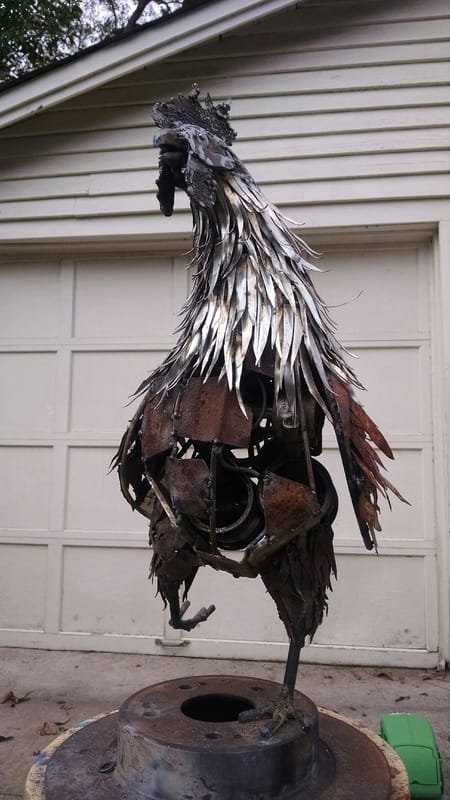
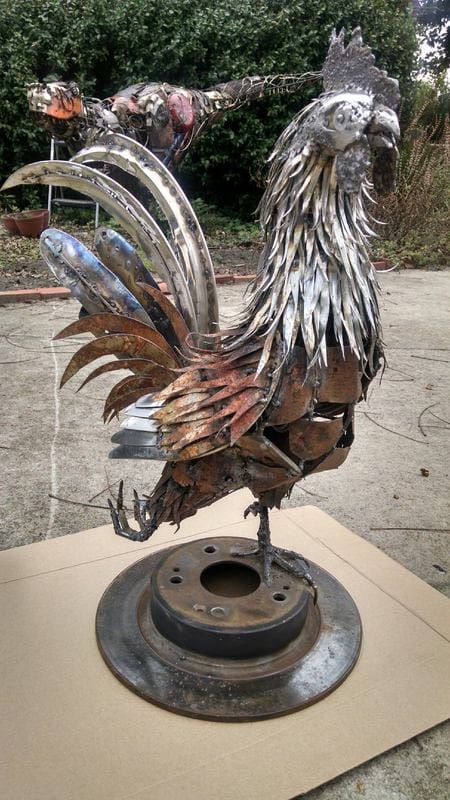
| This is the only picture I have of the tail feathers in progress. You can see one of th sickle feathers and several of the straight tail feathers on the ground at the bottom of the photo. I made the large sickle feathers from the rim/edges of the lid to a chili pot. The other tail feathers were cut from the rest of the lid. I made the quills using metal rods from a yard umbrella that I found on the curb. The lesser sickle feathers were cut from the same platter I used to make the wing feathers. I tried to add some color varation to the feathers by using my propane torch to apply heat. |


 RSS Feed
