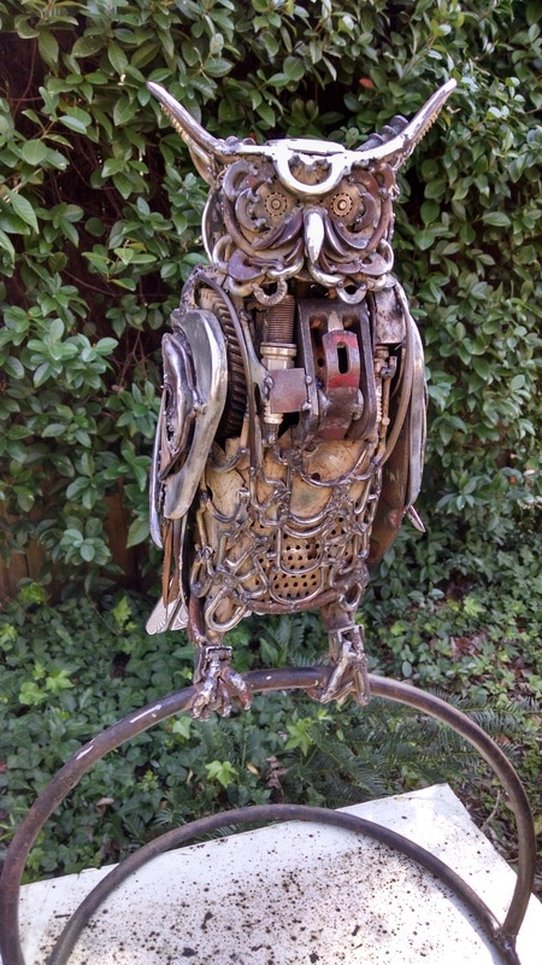
I made Owl #2 more quickly than Owl #1 (sixteen hours for this one as opposed to about 25 hours for the first one). A couple of factors sped things up. First, after already making one owl, I had a somewhat accurate model of owl anatomy/proportions in my head. That meant less time spent looking at pictures and thinking about how things would go together. Second, I was determined not to spend a lot of time representing individual feathers. After the marathon of feather cutting/welding that went into the fighting roosters, I just wasn't in the mood.
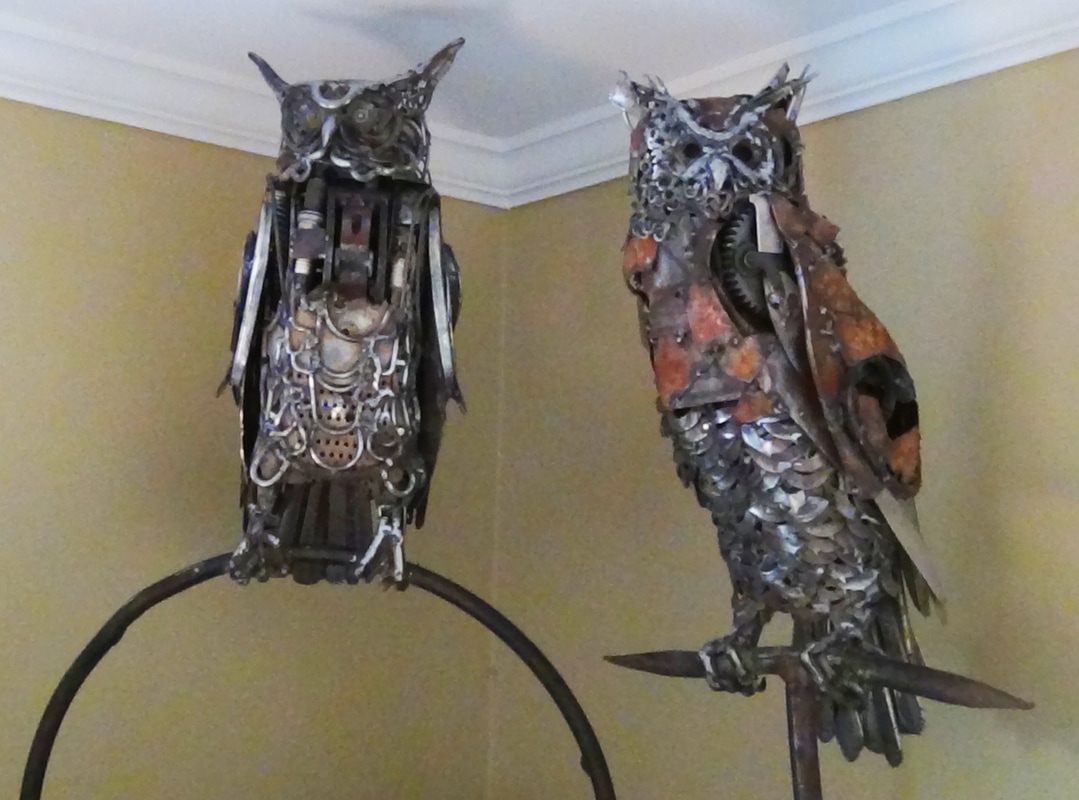
Here is the final product:
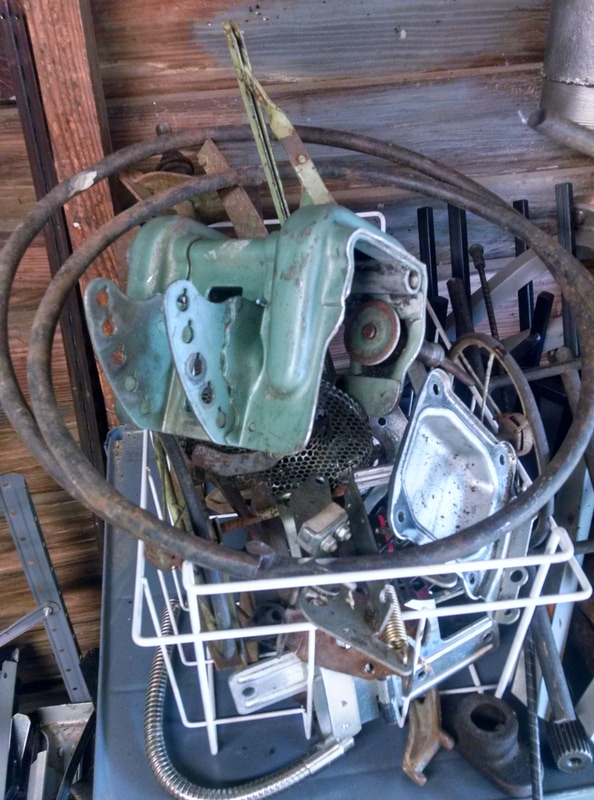
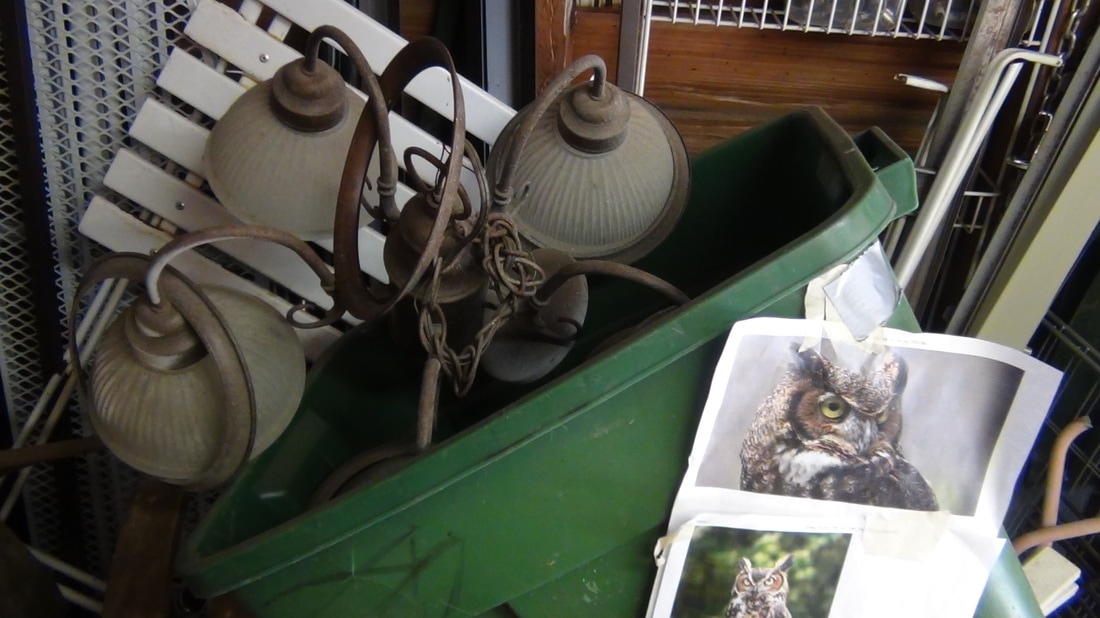
| I started assembling parts for the owl weeks ago, setting things aside that I thought would help me make what I was seeing in my head. I didn't end making anything like the owl I was picturing. In the basket, you'll see the steel rings (cut from a propane fryer) that I used to make the perch. The large green piece is a mounting bracket from an old Elgin outboard motor, the gas tank of which became the foundation for the head of my tyrannosaurus. I originally pictured that piece forming the shoulders of the owl. I didn't end up using it. In the end, I didn't end up using most of the pieces that I had set aside. |
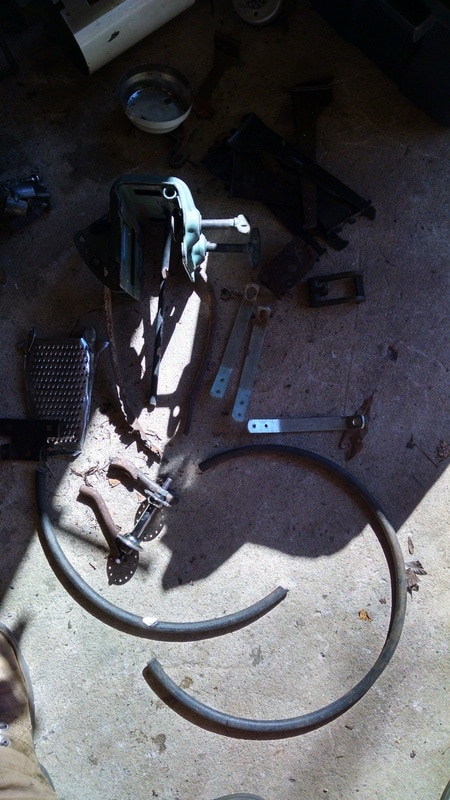
| This photos shows some of the pieces I thought I was going to use laid out. You can see the outboard motor mounting bracket, a section of a grater that I thought would make a good foundation for a belly, and some bicycle parts (an axle and a kickstand cut in half) that I thought would make good hips/legs. My original idea for the perch was to have the shorter arc stretching across and perpendicular to the C-shaped piece. I marked/cut that short piece a bit too short, however, which meant I was left with using the longer piece of the circle as the perch. It ended up working fine and, I think, probably looks better than the short piece would have. |
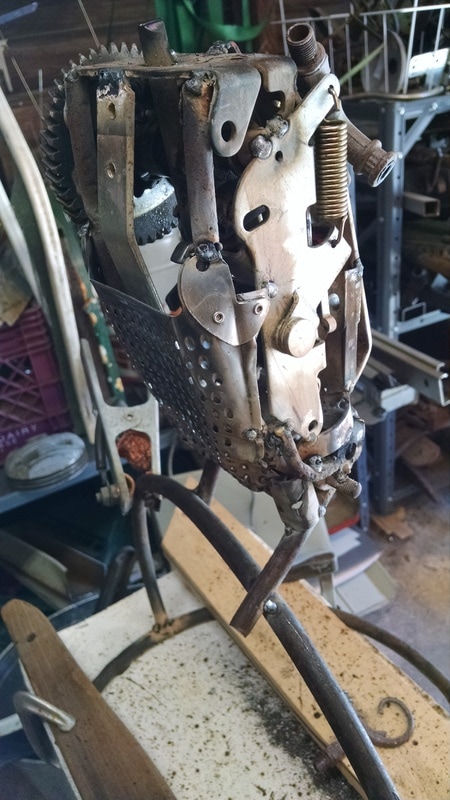
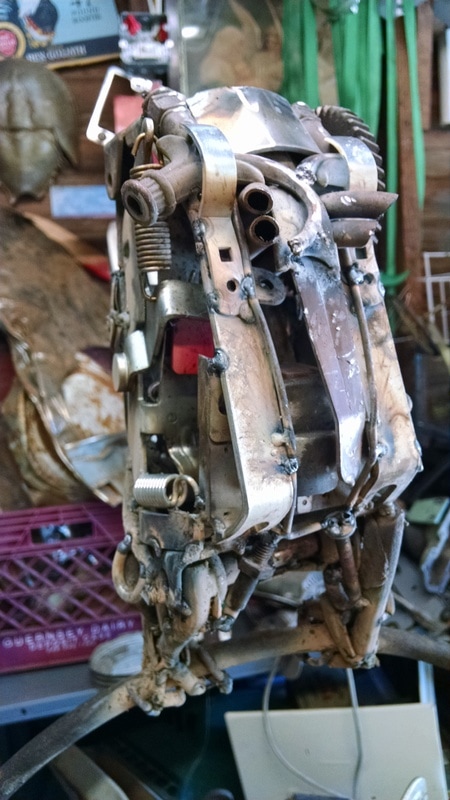
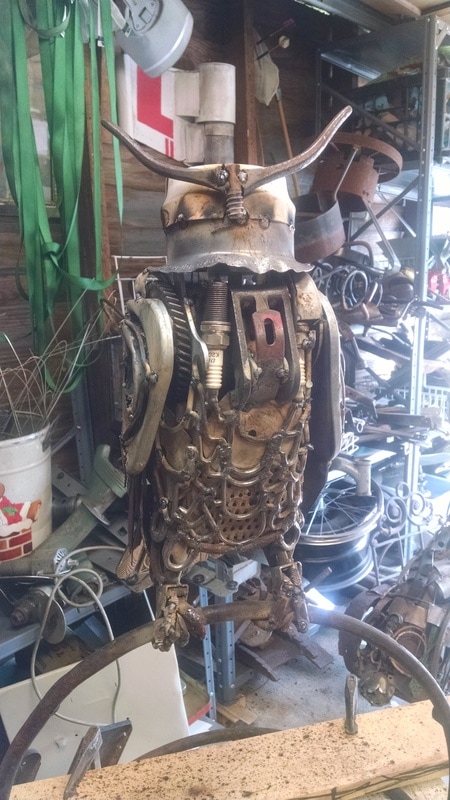
| This image shows the back of the owl under construction. I made the four exhaust pipes using sections cut from a hanging lamp that I rescued from a trash pile a short time ago. The lamp seemed like a good find, as it had lots of circles, curves, and semi-ornate curly parts that could be used in any number of ways. It ending up being really strange, though, because the metal is some sort of strange alloy that was very difficult for me to weld successfully. I know it's at least part ferrous metal (it's magnetic), but when I applied heat to some parts it shriveled up and turned into a pile of un-weldable garbage, like an aluminum can left in a campfire. So my big plans for using many parts of the lamp on this owl faded, as I just couldn't reliably attach the pieces. |
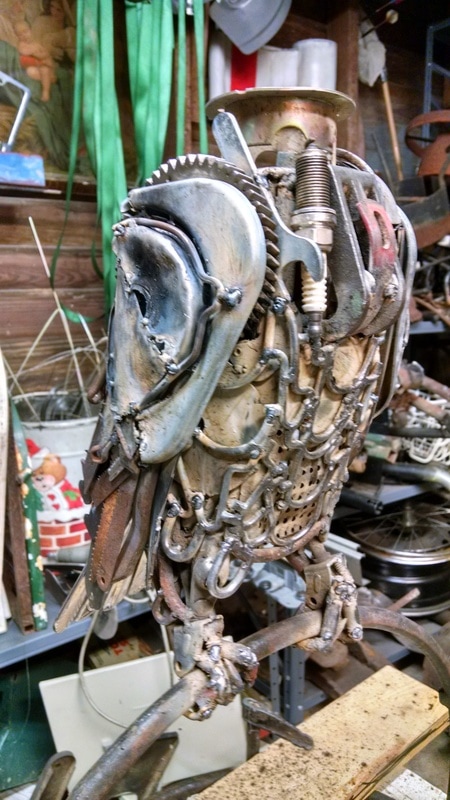
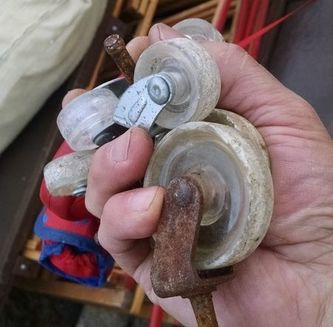
| The cheese grater was fine to form the base of the lower body, but by itself it didn't have enough texture. I didn't want to repeat what I did with the first owl, but I wanted something to represent the belly feathers. I put out an APB for everything in the garage with with a U-shaped curve, and end up creating a second layer with tool hangers (the kind you use with pegboard), pieces of chain link, and some U-shaped nails. I used a heavy steel hook from the outboard motor bracket to form a curving surface on the owl's chest. I made the flight feathers using whatever I had that was thin and linear that wasn't a butter knife: saw blades, rulers, other odds and ends. I created the shoulder parts of the wings using the flange from a garage disposal (cut in half) and the covering from a lawnmower muffler (also cut in half). The angle parts of the feet made from casters I pulled off of some cribs discarded on the curb outside the Rosewood Baptist Church. |
| This appears to be the only "in progress" photo I took of the head. I used the handles of an old pair of pliers to form the shape of the horns and brow. In retrospect, I wish I had cut down the length a tad more: they're just a bit long. As I was working on this (day 2) I woke up with the notion of actually giving the owl antlers. I decided, however, that I had enough on my hands at this point to bring it home as a "normal" owl. The mythological antlered owl will have to wait for another day. The foundation of the head is another piece of a garbage disposal. I originally thought I could get the rim around the neck to conform to the shape of the body by beating it with a hammer once I got it attached. That didn't work at all. I tried heating it first using my propane torch, but even red hot it didn't want to bend very easily. The failure of heating/beating led me to cut the rim into sections so I could fold them down a bit. It ended up working fine, but it was another one of those things that I spent a lot of not-fun time on. The top of the head is made with half of the piece of metal that covered the base of a desk lamp. |
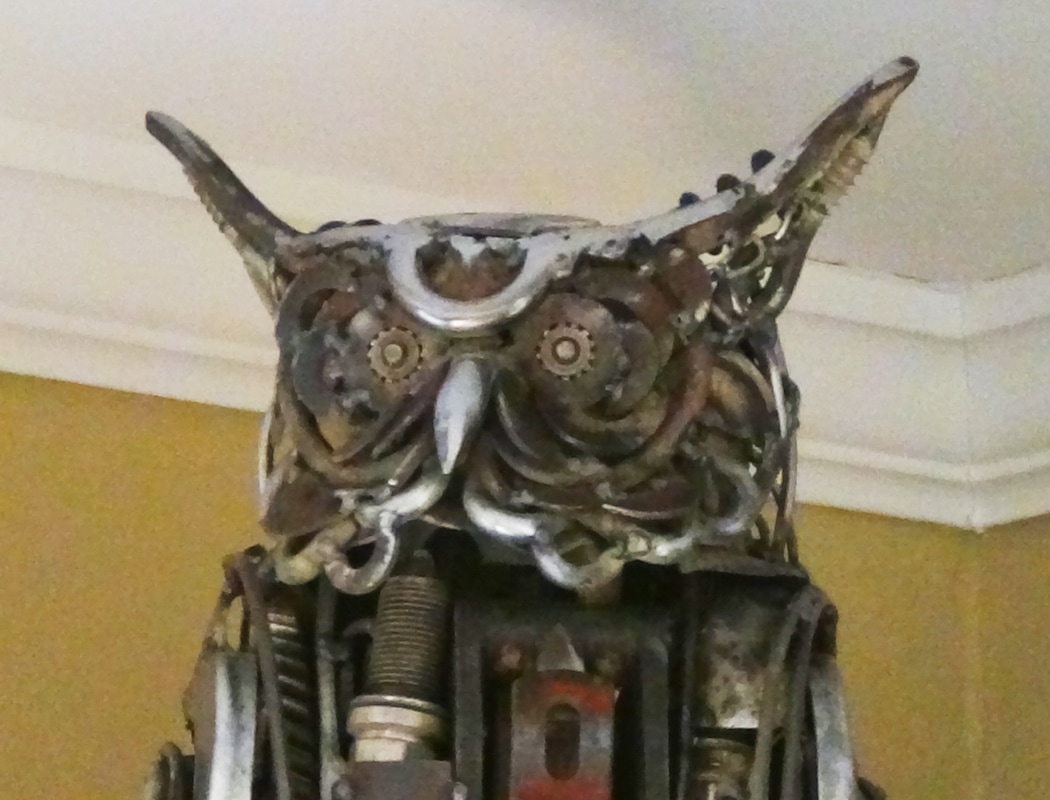
| Here's the face completed. The eyes are wheels from some kind of device that I took apart at some point (I have no idea what it was -- they were mounted on a small metal plate that said "Mabeline" [that plate became part of the head]). I used washers, pieces of chain link, and part of a padlock to sculpt the face and brow. |
 RSS Feed
